Feeling puzzled that your toilet seat doesn’t have the usual underside bolts to tighten it in? And if you are in need of instructions then this article got some good hints on how to tighten toilet seat with no access underside. Well, then your toilet seat probably unique in construction hence requires a special procedure to secure it with the rest of the toilet. 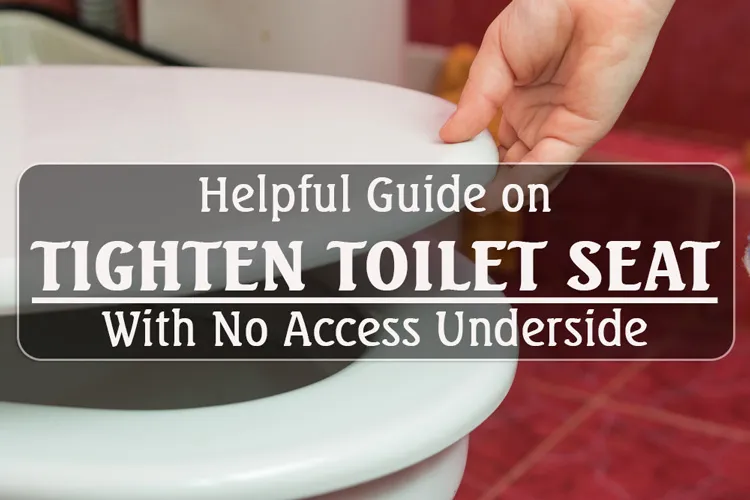
Introductions
So your notice that your toilet seat is kind of loose lately and you want to tighten it back in place. But then you run into a problem: You can’t find the usual bolts under it. Without the underside access, it’s really hard for you to secure the toilet seat. You looked everywhere and did everything short of total disassembling and you still can’t find a way out. Well the hard time is gone now, below are the necessary tools and suitable techniques that will offer you a solution on how to tighten toilet seat with no access underside.
Most models of toilet seat employ simple holes as underside access to connect itself to the toilet. Usually, the holes are where you lock in the seat to the toilet by screws and bolts. But there are still other types of seats that use slightly different construction for the holes and the way to connect the seat to the toilet. Your toilet seat may fall into the second category. But no worry, you can solve this dilemma with ease and all by yourself. So first let’s take a look at what you may want to have here.
Oh and one more important thing to do, check the warranty of the toilet to see the conditions that may void the contract. The tightening of the toilet seat may sometimes require you to temporarily alter the toilet appearance for a bit (in rarer cases, permanent). And while the toilet function remains unchanged, this may cancel the toilet warrant so be on guard.
Necessary tools and gears that you need for the job
You don’t need any specialized stuff here, all you need is a wrench, a screw driver, a pair of pliers and a tool to pry, preferably a flat – head gear or something that doesn’t damage the seat too much and offer you an ideal leverage handle. And while it’s not mandatory, wearing protective accessories such as goggles and gloves is not a bad idea. You may deal with unpredictable fragments and splinter or even viral infection in the process of looking for a way to tighten the seat. Better be safe than sorry.
The procedures to tighten the toilet seat
Step 1: Exam the toilet closely one again
For the majority of the cases, your toilet probably did have holes for underside access. They just happen to be obscured from your view and hidden in unusual places. For example, recheck the hinges of the seat. There are hidden buttons that you may not notice at first but keep running your hand back and forward there and you will get them eventually. Press the buttons then the lid should be released which will reveal the securing screws and bolts.
There is also toilet seat with special covers that you may need to slide it aside or pry it up to see the accesses. This is to protect the fixing bolts from water and foreign material that potentially degrade the locking mechanism. In that case, look for any piece that is roundly cut that at the opposite end of you. Inspect it closely to detect the covers.
And next is the underside access that requires you to remove the toilet from its attaching base to handle it. This is mostly used in toilets that installed on the wall instead of the floor. The holes that are used to tighten the seat lies at the same side with the bolts that connect the toilet to the wall which make it impossible to spot the underside access if you don’t remove the entire thing.
Step 2: Re – align the seat
Now when you have spotted the underside access, everything is much easier now. But before you actually attempt to tighten the bolts, you will need to perform adjustment the seat. Since the seat has become loose, chances are the seat is out of alignment and you need to move it back to the center of the toilet. You can use several clamps to assist you in this process. When you are satisfied that the seat is in the correct place and rest evenly on top of the bowl then move on to the next step.
Step 3: Tighten the bolts
Now take out the screwdriver and start tightening the bolt. It’s better to use a screwdriver with the suitable head, not too small and not too small. Inappropriate screwdriver head will make it harder tighten the bolt while also damage the bolt lines which shorten its overall lifetime. Beside it, just keep tightening the bolt till you can’t screw it in anymore.
There is also toilet seat that equipped with a special wing nut in the underside accesses to give the seat a better fit and secure position. In that case, use the pliers to hold the nut in place while you tighten the bolts with the screwdriver. The wing on the nut will lock down the bolt and won’t allow it to turn back on itself. Now just keep tightening the bolt till your seat no longer move back and forward after every touch.
Step 4: Check the tension and close the lid
And your toilet seat should be good as new now. But you still need to do some last minute examination. Slightly knock the bolts and see if they are move or not so that you can be assured of the tension. Keep tightening the bolt if it shows the slightest sign of becoming undone. After everything is good, close down the lid and see there is any obstruction, if there is none then you are done here. You can use the toilet now without having to endure the wobbling seat.
Conclusion
And that is the end of the guide, very easy to follow, right? It’s very frustrating to use the toilet while the loose seat keeps moving all over the place. And it’s even more frustrating when you can’t find the underside accesses anywhere to tighten the seat bolts. But you don’t have to withstand that annoying fact anymore. Just simply get the right tool and apply the above steps precisely and your seat will be just like when you bring it home for the first.
Enjoy the guide? Well then please give it like, share it with your friend and comment to interact with us